Introduction
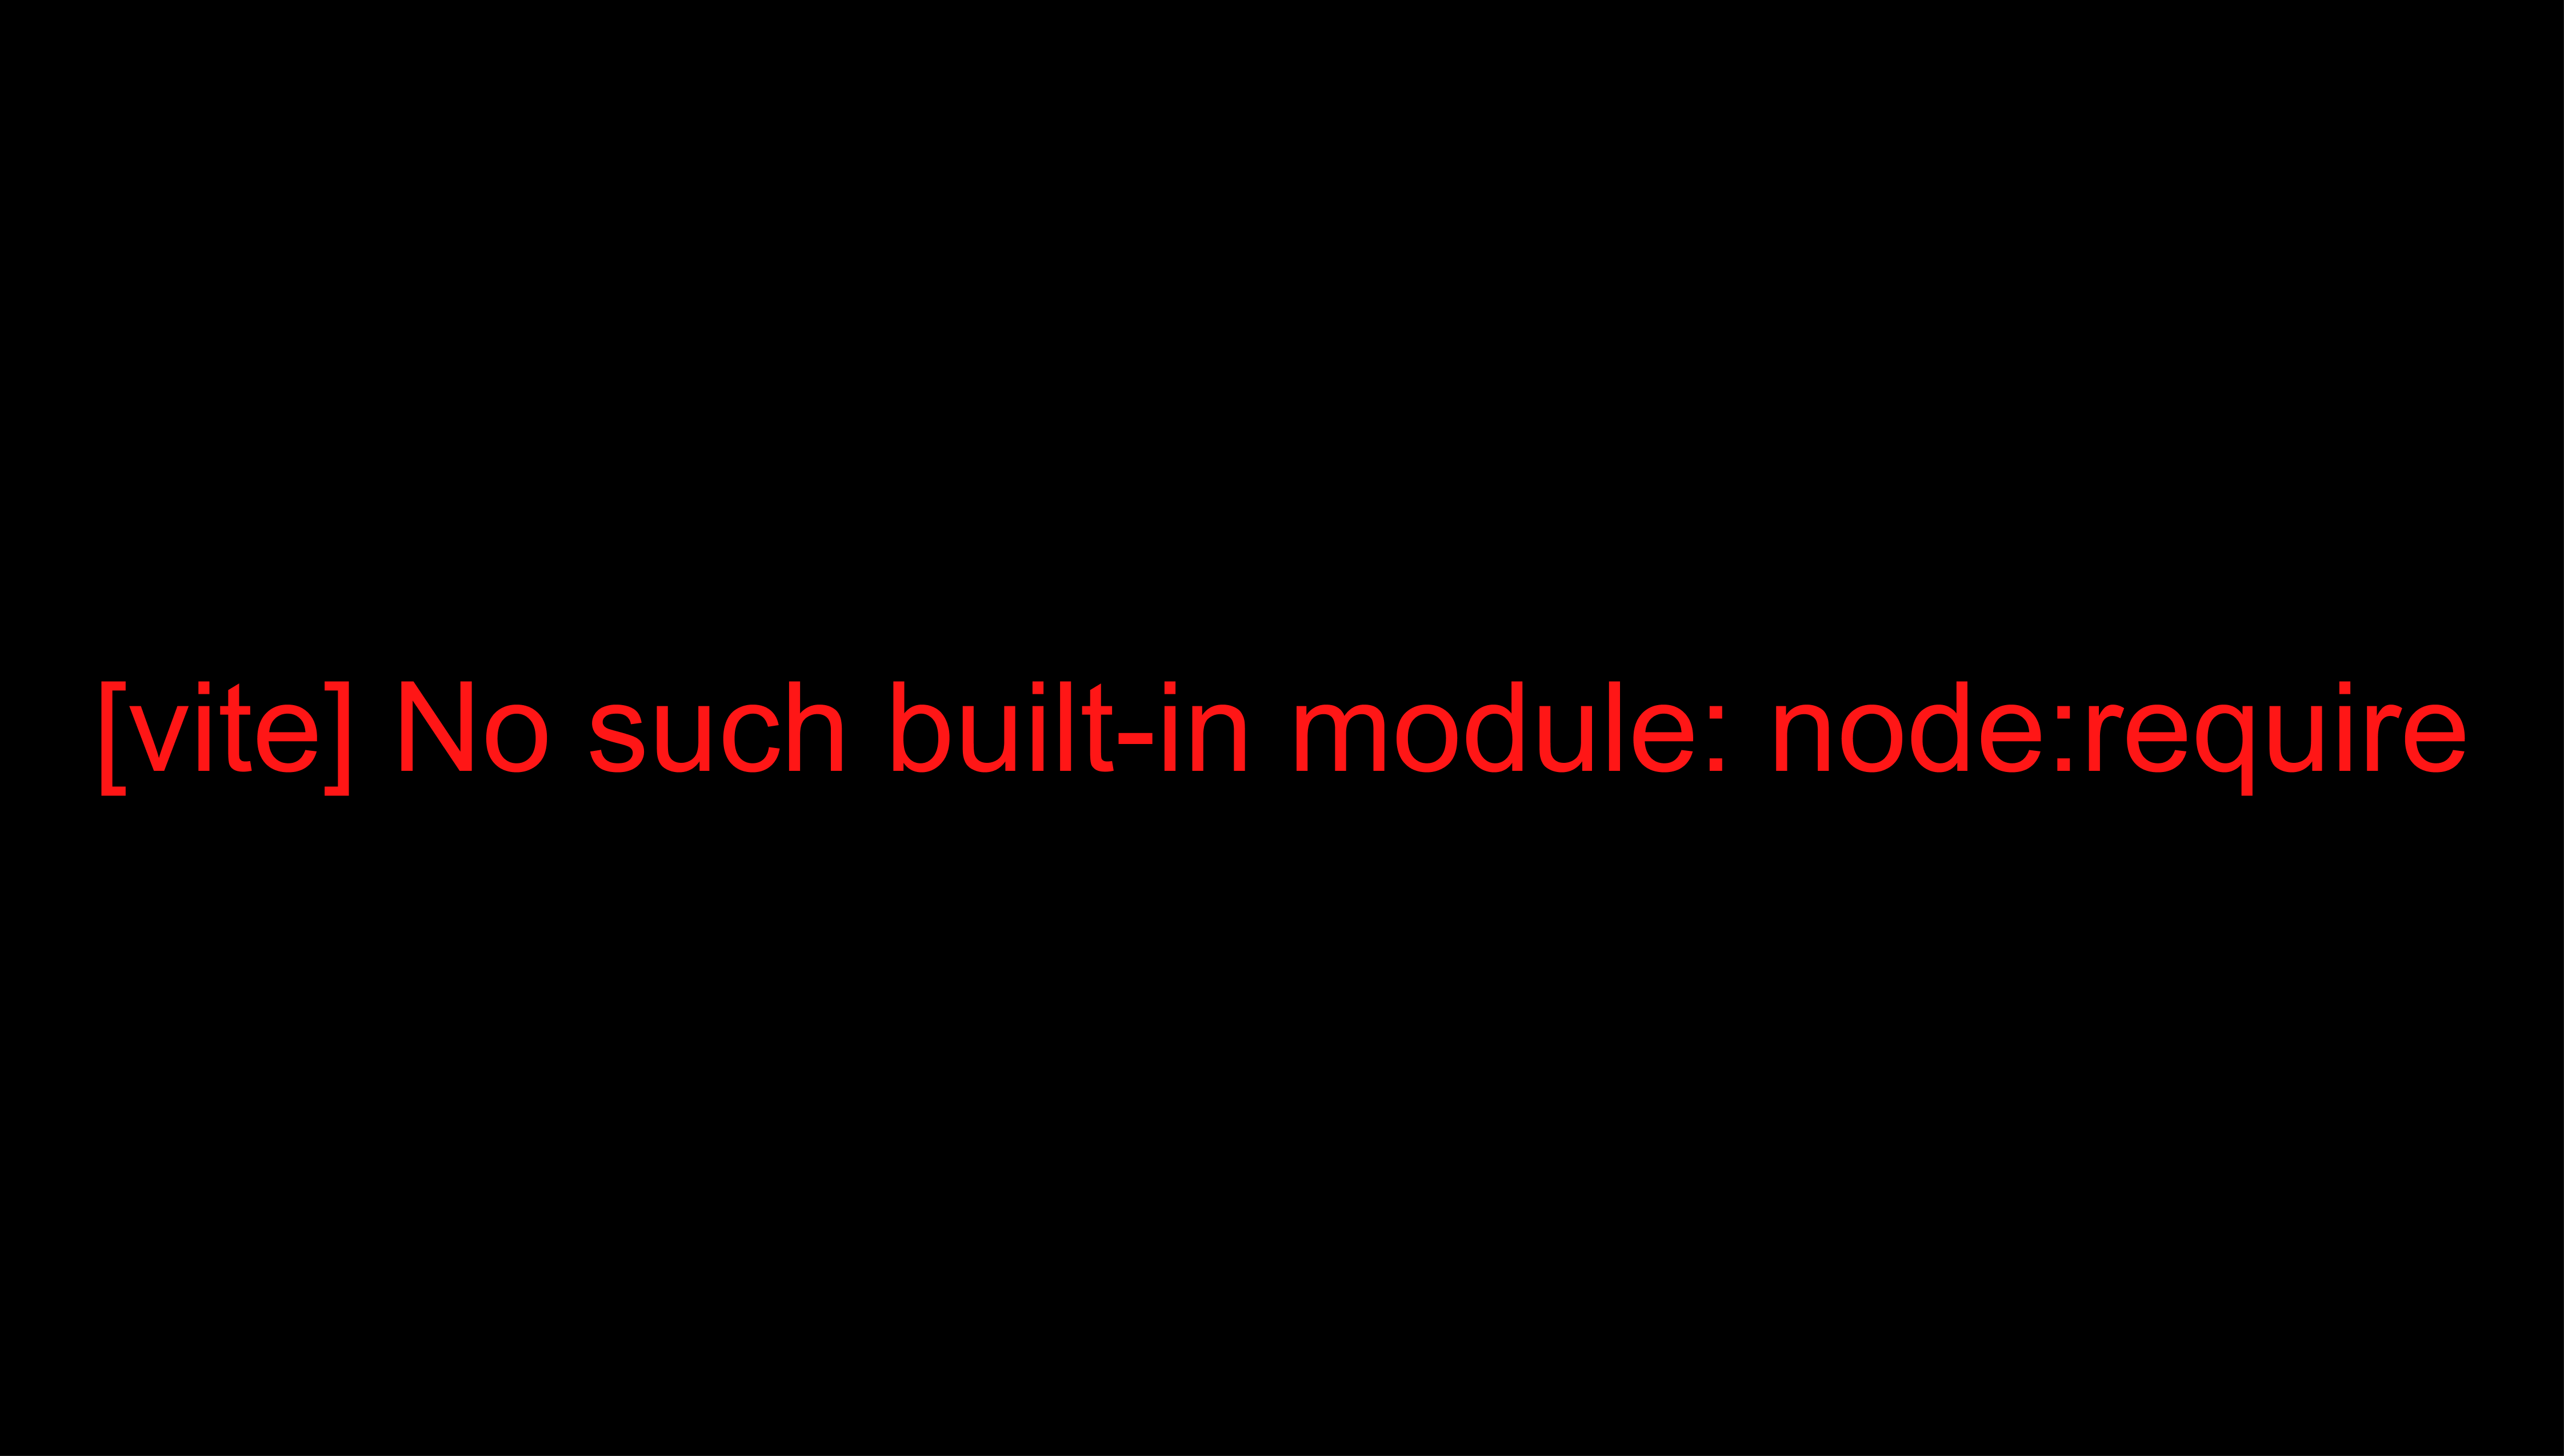
When setting up Tailwind CSS with Vite in a Vue.js project, I encountered a confusing error: No such built-in module: node:require. This error stems from how Vite uses ES modules (ESM), which work differently from Node.js’s require function.
In this post, I’ll walk you through how I solved this issue by focusing on using the correct configuration, transitioning to ES modules, and importing the necessary styles for Tailwind to work properly.
Key Things to Look Out For
1. Use the Correct Vue Instructions
Tailwind’s documentation provides separate guides for different frameworks. Make sure you’re not following the React or Svelte setup, but specifically the Vue guide here. It’s easy to accidentally mix up instructions, which can lead to configuration errors.
2. Set "type": "module" in package.json
To use ES modules throughout the project, you need to explicitly tell Node.js to treat your JavaScript files as ES modules. You can do this by adding "type": "module" to your package.json like this:
{
  "name": "my-project",
  "version": "1.0.0",
  "type": "module",
  "scripts": {
    "dev": "vite",
    "build": "vite build",
    "serve": "vite preview"
  }
}
This ensures that ES module syntax like import/export works across your project.
3. Change module.exports to export default
If your project is set up to use ES modules, any module.exports in your configuration files (like vite.config.js, tailwind.config.js, or postcss.config.js) should be replaced with export default. Here’s an example of how to change it:
From this (CommonJS syntax):
module.exports = {
  plugins: {
    tailwindcss: {},
    autoprefixer: {},
  },
};
To this (ES module syntax):
export default {
  plugins: {
    tailwindcss: {},
    autoprefixer: {},
  },
};
This adjustment ensures your project aligns with modern ES module standards and resolves the node:require issue.
4. Import style.css in main.js
Tailwind CSS needs to be imported into your main application file for it to work. Make sure to import the style.css file (or wherever you have added Tailwind’s imports) into your main.js:
import './style.css';
import { createApp } from 'vue';
import App from './App.vue';

createApp(App).mount('#app');
In your style.css, you should have the following Tailwind directives:
@import 'tailwindcss/base';
@import 'tailwindcss/components';
@import 'tailwindcss/utilities';
The Solution Recap
By following these steps, I resolved the No such built-in module: node:require error:
- Ensure you’re using the correct Vue guide for Tailwind and Vite.
- Add
"type": "module"to yourpackage.json. - Replace all
module.exportswithexport defaultin configuration files. - Import
style.cssinmain.jsto enable Tailwind’s styles.
Conclusion
Working with modern development tools like Vite and Tailwind can be challenging if you’re coming from older bundlers like Webpack. By transitioning to ES modules, keeping an eye on your configuration, and ensuring proper style imports, you can resolve these issues and take advantage of Vite’s lightning-fast build times.


Leave a Reply
You must be logged in to post a comment.