This morning, I faced a challenge: I needed to export just a selected area from Photoshop. I searched for a tutorial, but to my surprise, I couldn’t find anything decent that explained how to do it clearly. It was one of those small but critical tasks, and without the right information, it quickly became frustrating.
So, I did what any designer would do—I started experimenting, muddling through the options until I figured it out. And that moment of “aha!” got me thinking: if I struggled with this, others probably do too. That’s why I decided to make a quick tutorial and share it with the world.
As a UI/UX designer, I often come across small challenges like this. Sometimes, the tutorials out there just don’t cut it, and the only way forward is to get your hands dirty and problem-solve on your own. When I figure out something new, I feel a strong urge to share that knowledge—to give back to the community that has given me so much over the years.
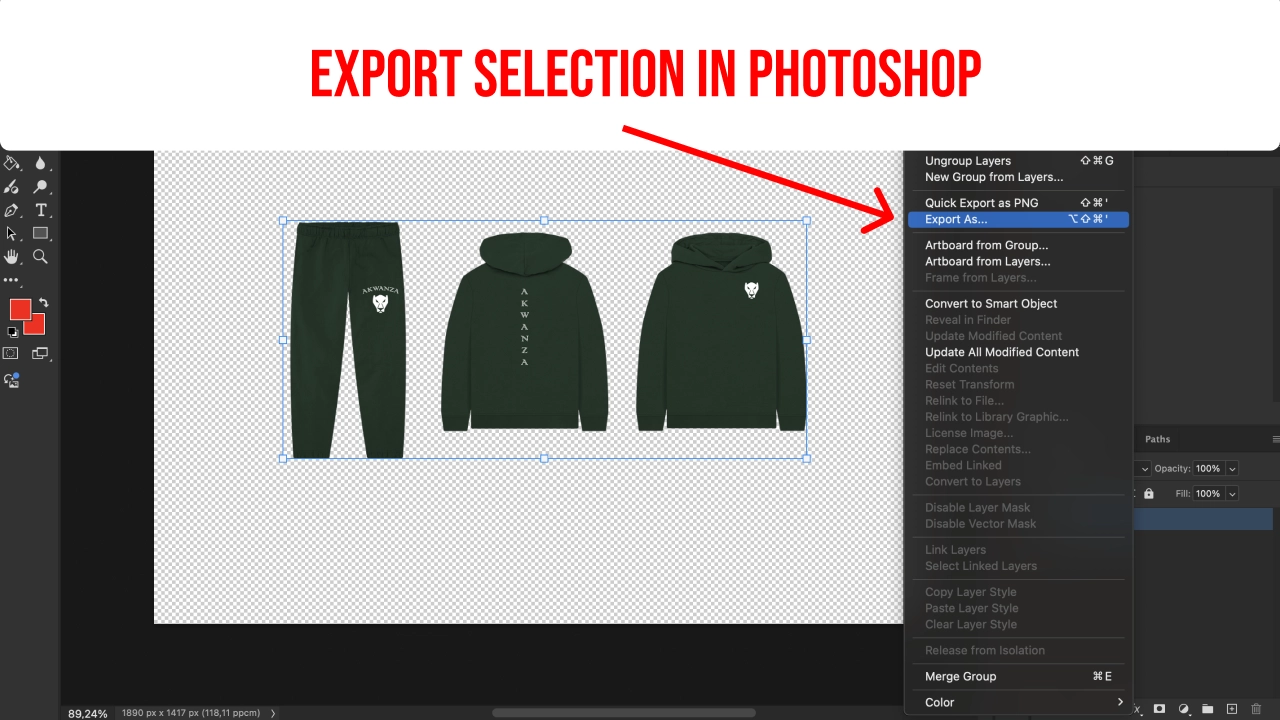
So, here it is: a simple, step-by-step guide on how to export a selected area in Photoshop. I hope it saves someone out there some time and frustration. You can check out the video here:
Leave a Reply
You must be logged in to post a comment.